
 &
& 


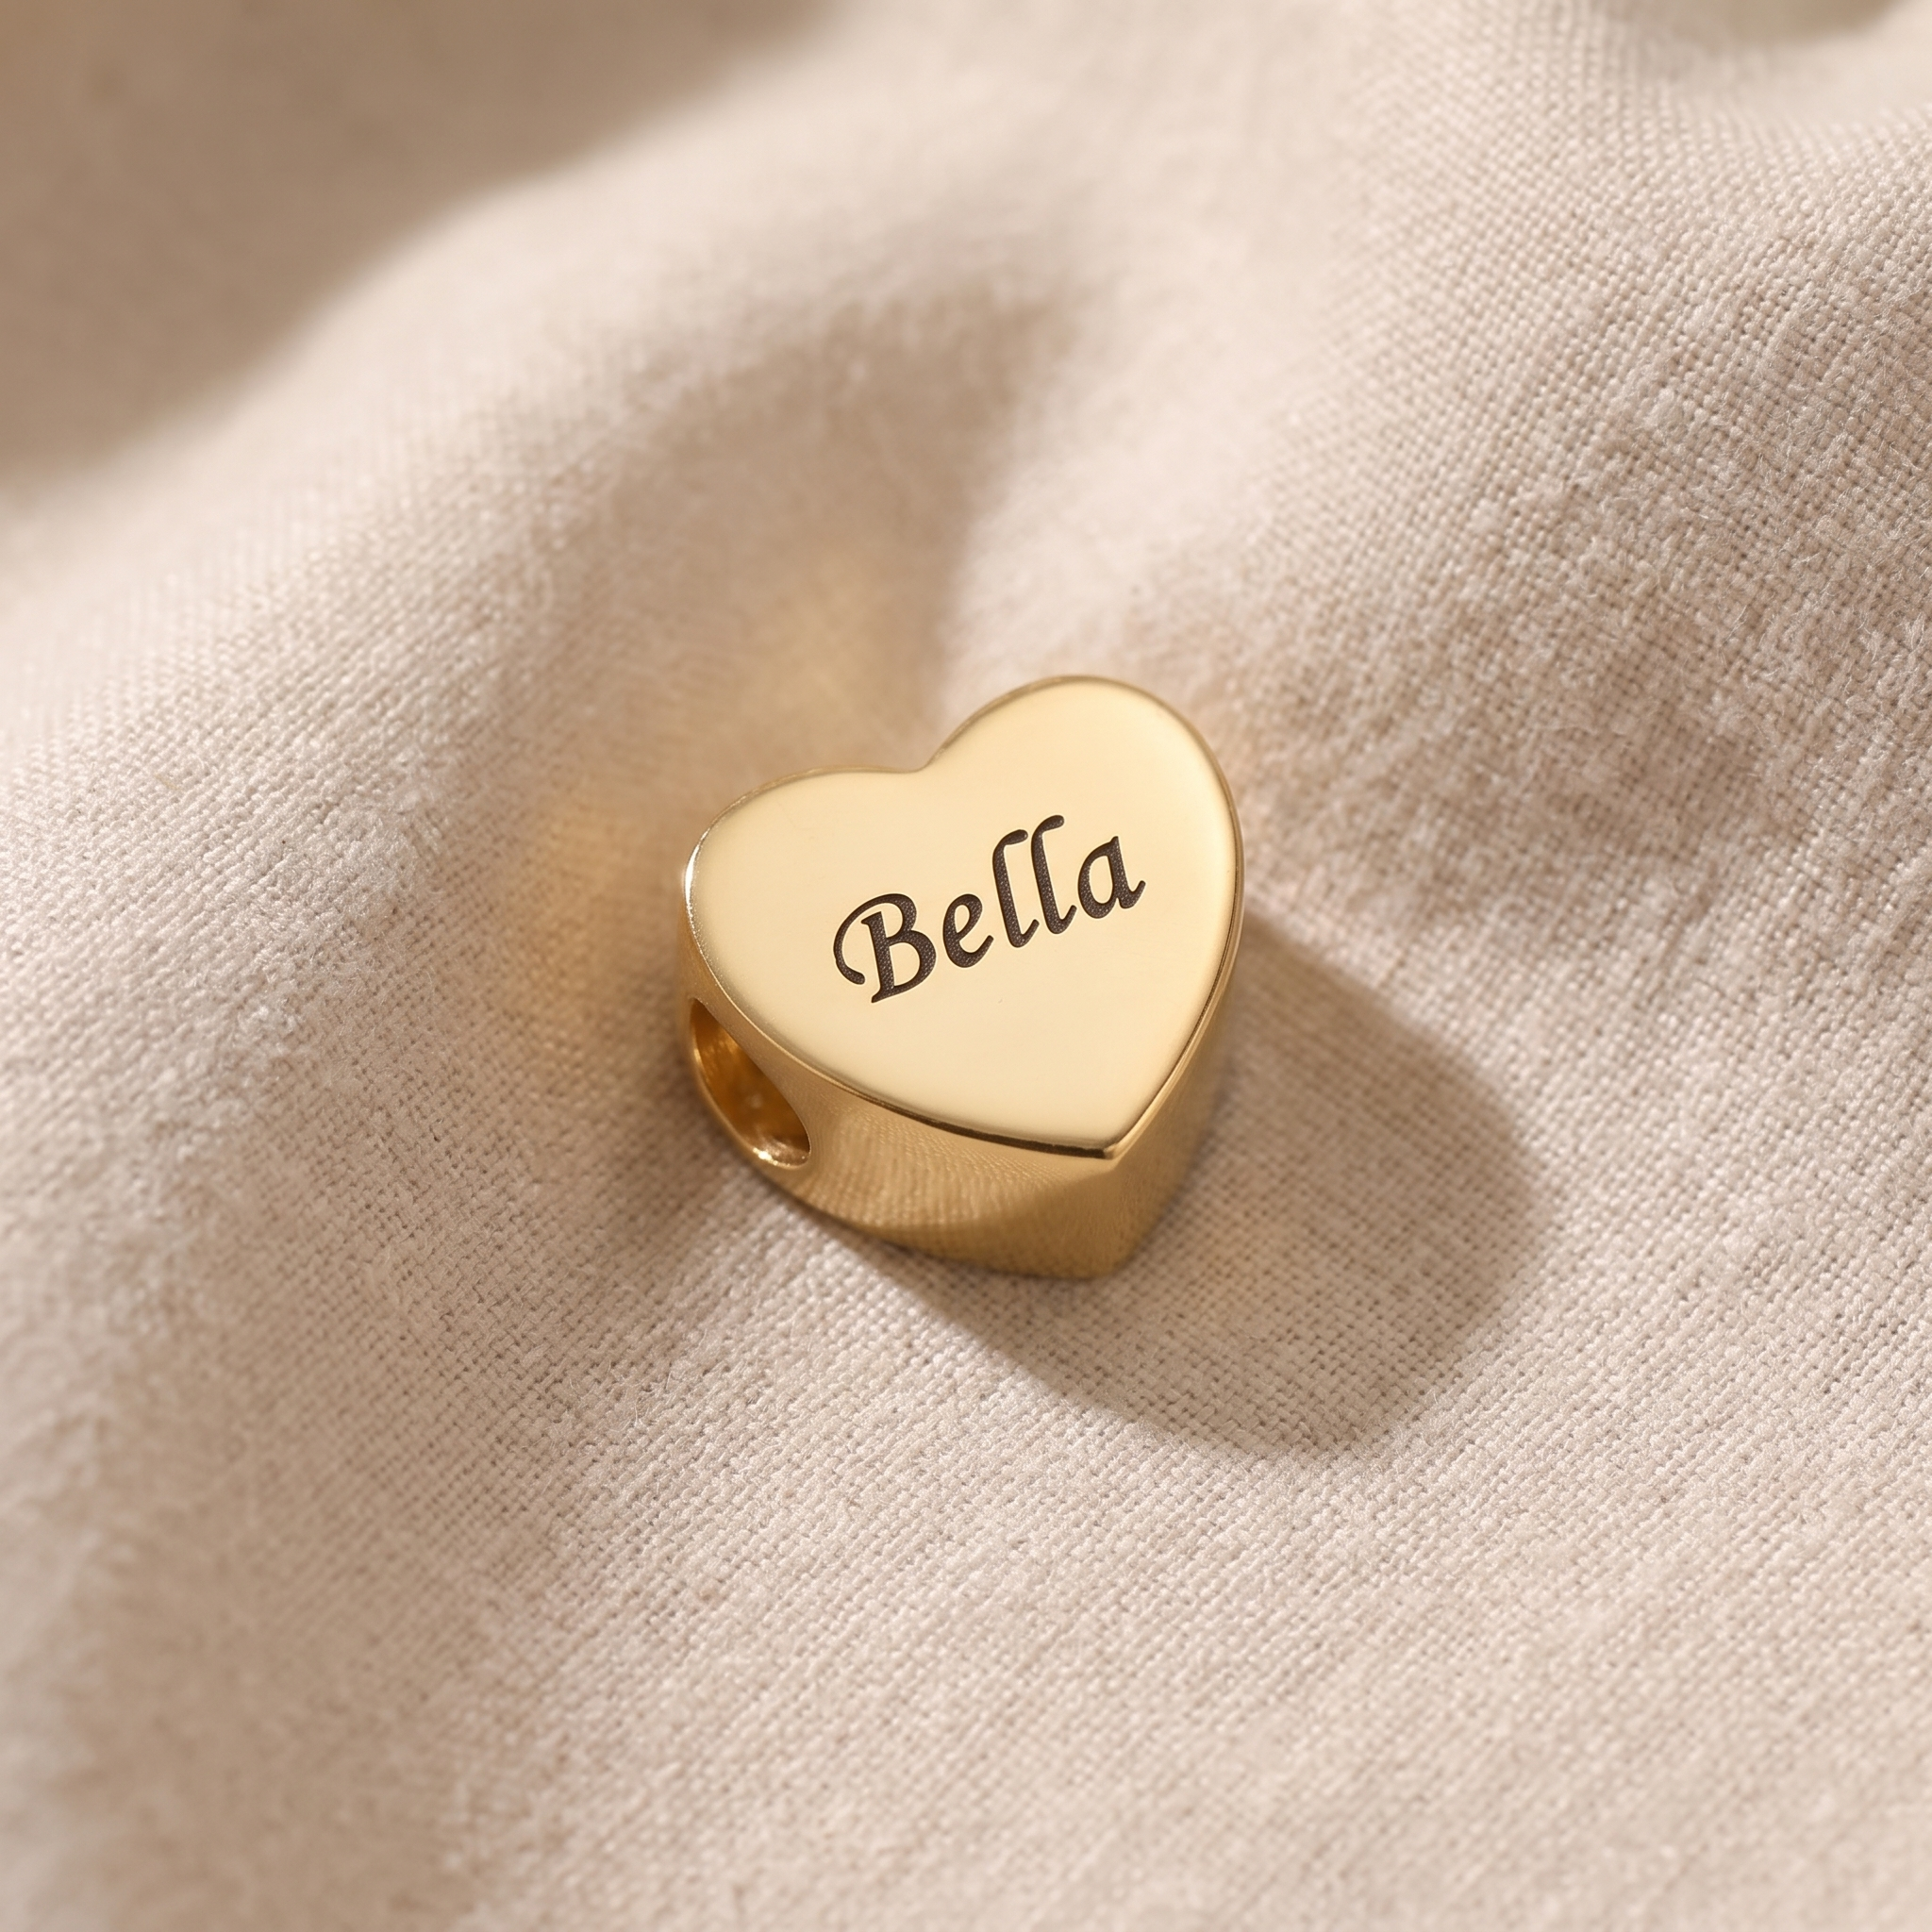
Hand-stamping a bracelet charm takes about twenty minutes once you have the tools, and the tools cost more than the first charm does. The process is simple: mark the blank, stamp one letter at a time with a hammer, darken the impressions, and attach a jump ring. Everything difficult about it is in the spacing.
What do you need?
- Metal blanks - discs, bars or hearts, with or without a pre-drilled hole
- A letter stamp set - one punch per character, in a single font and size
- A brass or chasing hammer - heavy enough to strike once cleanly
- A steel bench block - the surface matters more than people expect
- Masking tape and a fine marker - for the guide line, which is the whole trick
- A permanent marker and fine wet-and-dry paper - to darken and clean the impressions
- Jump rings and two pairs of pliers - to attach the charm to a chain
The seven steps
- Plan the layout on paper first, counting characters and finding the centre one, because you stamp outward from the middle rather than left to right
- Tape a guide line across the blank so every letter sits on the same baseline
- Place the blank on the steel block, hold the punch upright, and check the letter is the right way up
- Strike once, firmly. A second strike almost always lands slightly off and doubles the impression
- Work outward from the centre character in both directions to keep the spacing even
- Darken the impressions with a permanent marker, let it dry, then sand the surface lightly so the ink stays only in the letters
- Open the jump ring sideways, not by pulling it apart, thread the charm and close it the same way
What usually goes wrong?
Three things, in order of frequency. Uneven spacing, which is why you stamp outward from the centre. Double-strikes, which come from tapping twice instead of hitting once. And upside-down letters, particularly N, S and Z, which is why checking orientation before every strike is worth the second it takes. Buy several more blanks than characters you need; the first two are practice.
When is a made piece the better call?
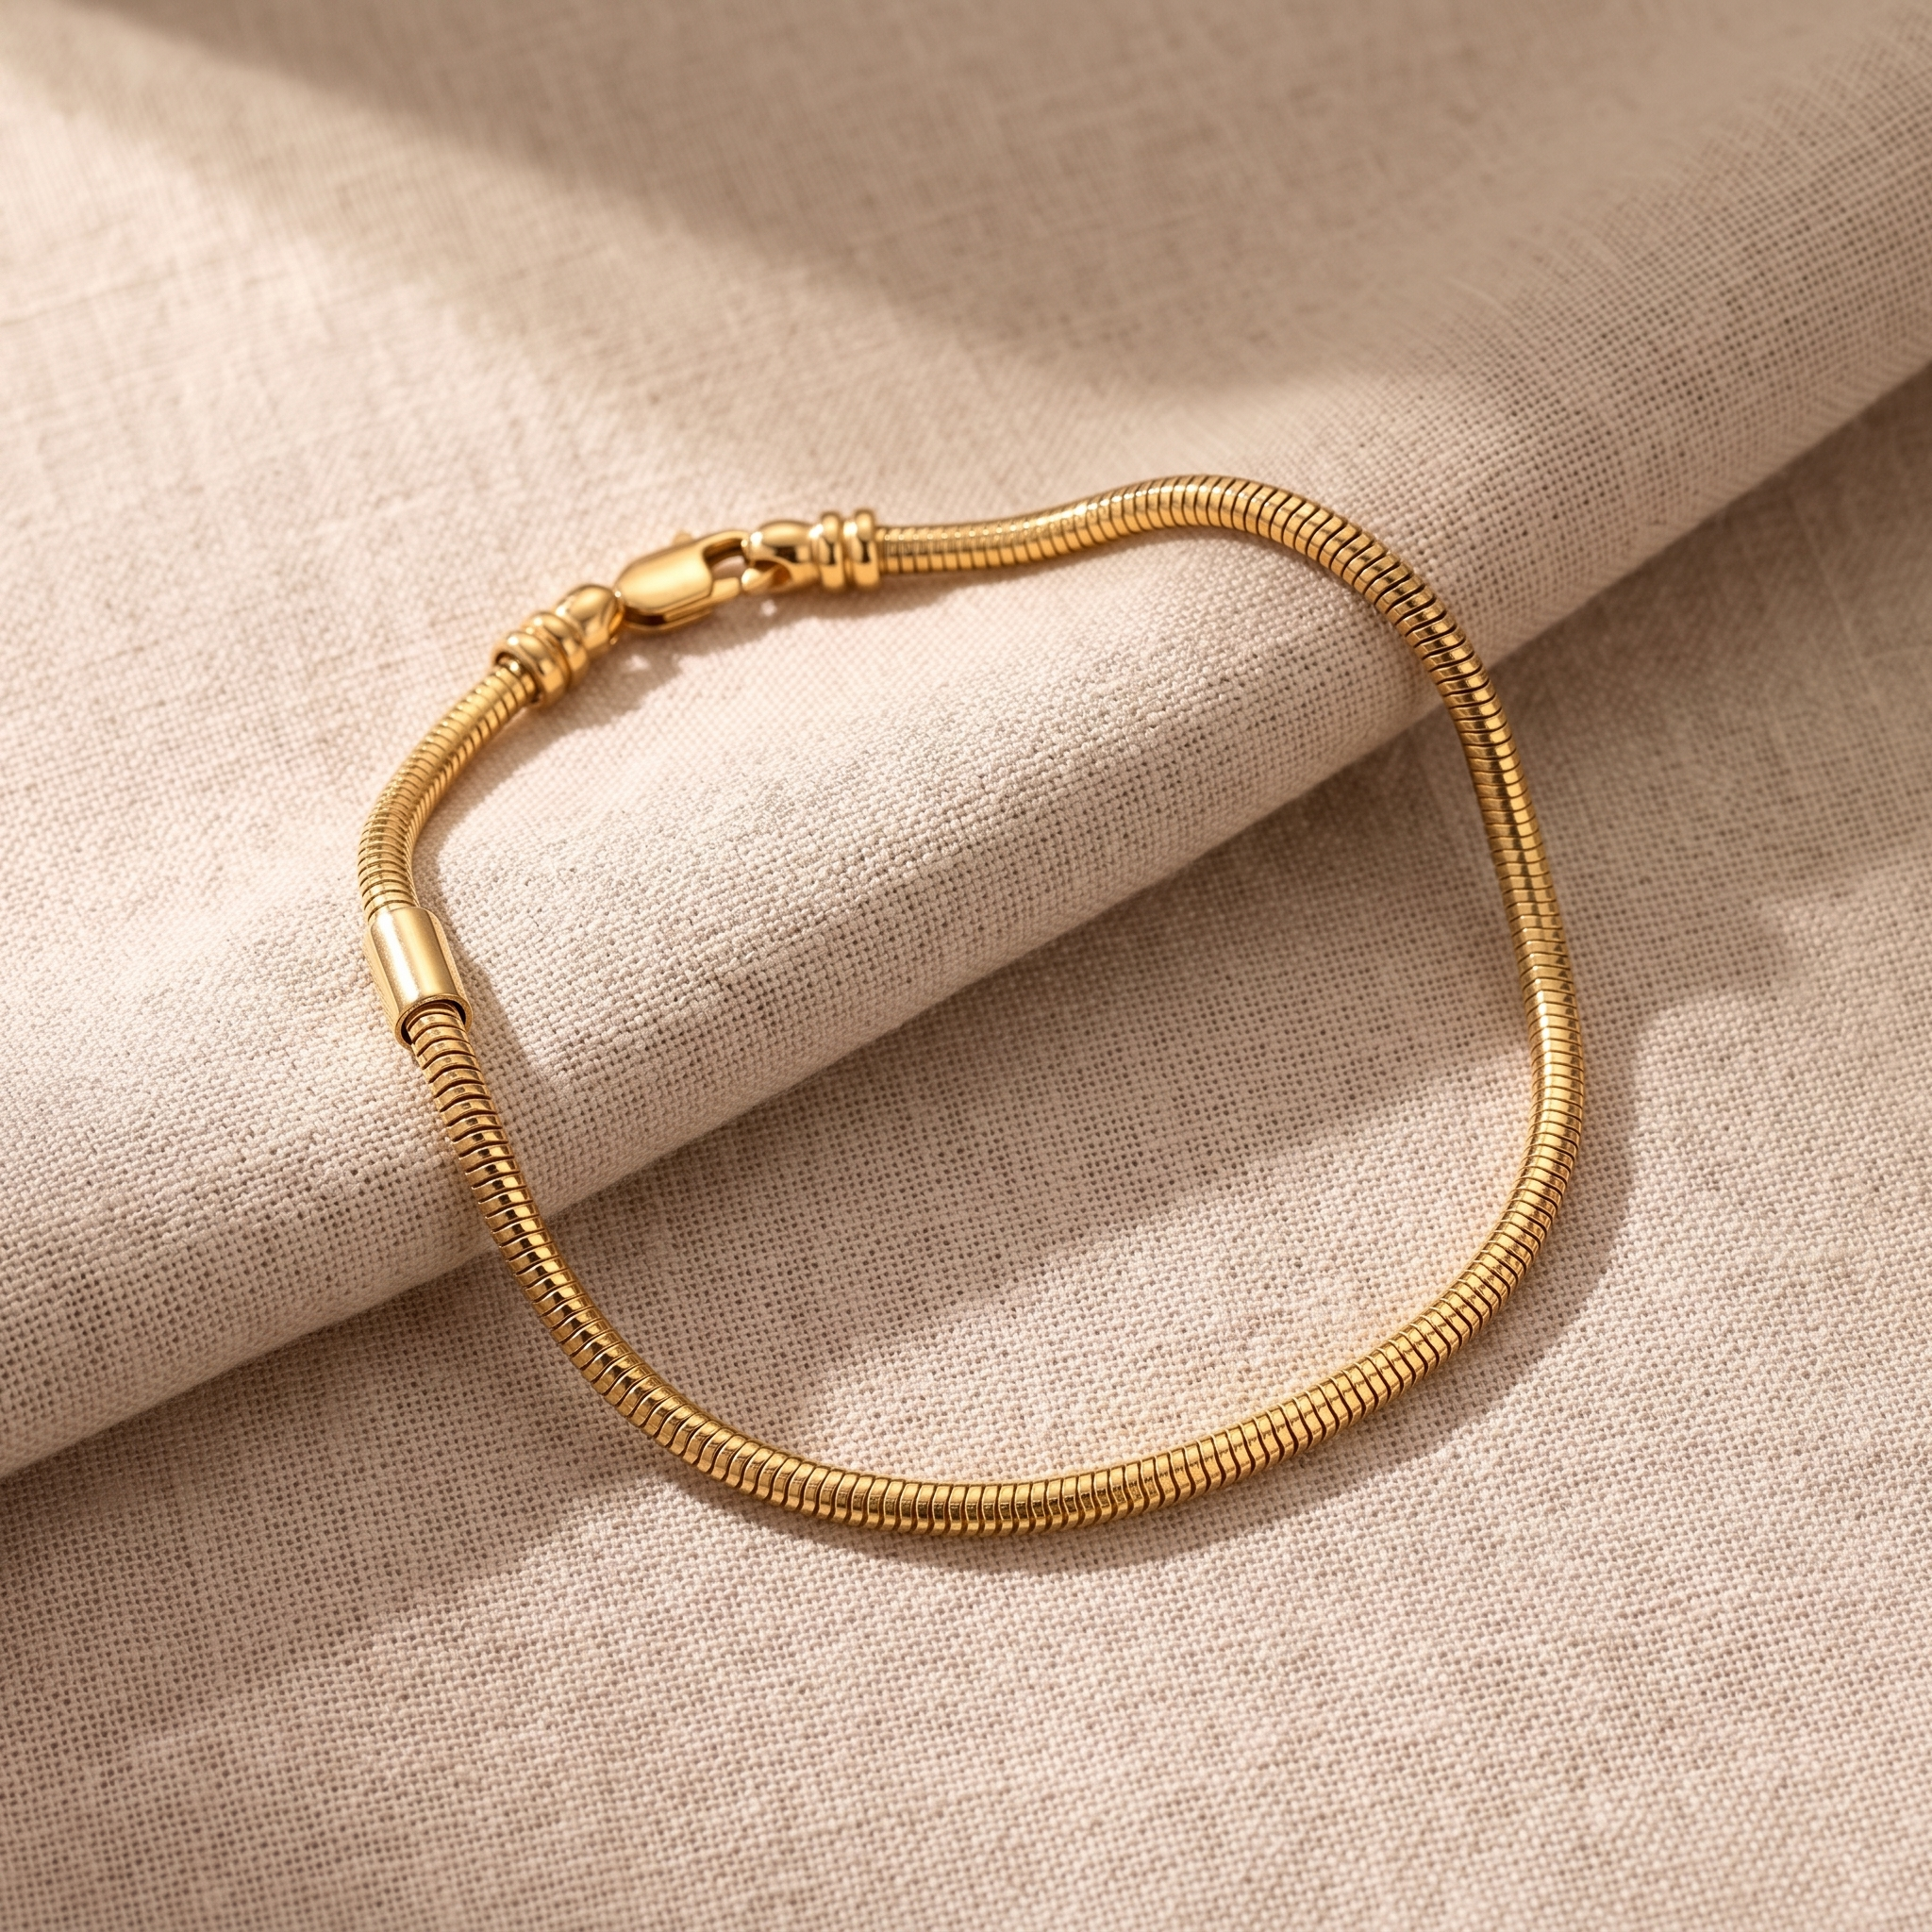
When the piece has to be right first time. Hand-stamping is genuinely satisfying and the small irregularities are part of its charm, but a memorial piece, a gift, or anything with a name that has to be spelled correctly is not the place to learn. Laser engraving cuts deeper and more evenly than a hand punch can, which is what keeps an inscription legible for decades. If the charm is going on a bracelet that will be worn daily, a made charm on a Moments bracelet is the more durable route, and an engraved name charm can be added to a leather bracelet the same way.
Frequently asked questions
How hard is it to hand-stamp a charm?
The technique is easy and the spacing is hard. Most people get a usable charm on their third attempt, which is why buying extra blanks matters more than buying better tools.
Why do my letters come out crooked?
Because you are stamping left to right. Find the centre character of your word, stamp that first on a taped guide line, then work outward in both directions. That distributes any error to the edges rather than accumulating it.
How do I make the letters show up?
Colour over the impressions with a permanent marker, let it dry completely, then sand the flat surface lightly with fine wet-and-dry paper. The ink stays in the recesses and lifts off the surface.
Is hand-stamping as durable as engraving?
No. A stamped impression is shallower than a laser-cut engraving, so it softens faster with handling and polishing. For a piece worn daily or one that has to last, an engraved piece is the more durable option.
What blanks should a beginner buy?
Plain flat discs around 20mm, with a pre-drilled hole, in a soft metal. Small blanks leave no margin for spacing error, and curved surfaces are much harder to strike cleanly than flat ones.
